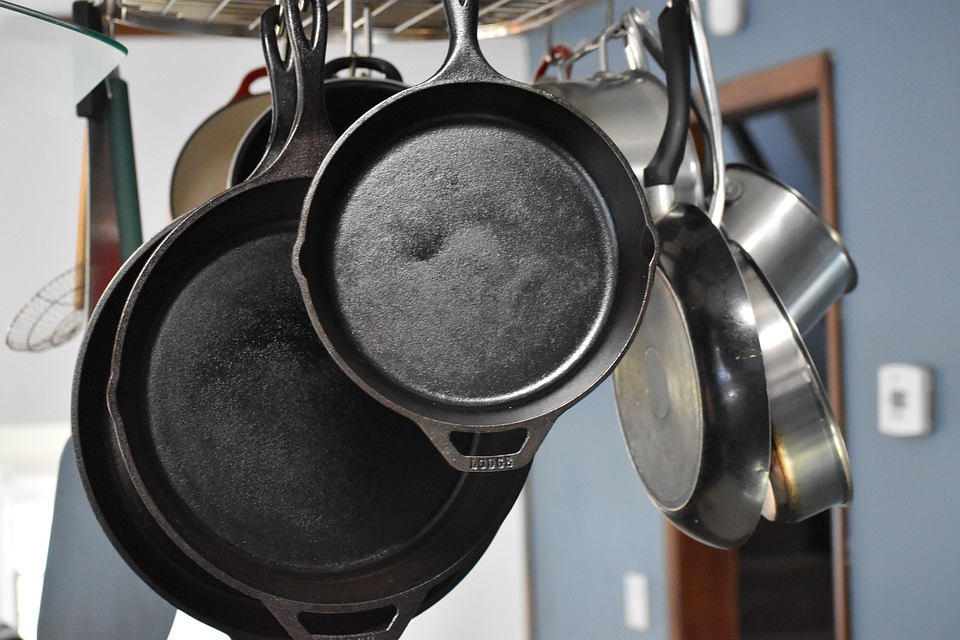
A well-seasoned cast-iron pan is the crown jewel of any kitchen, and a tool that improves with every use.
Seasoning cast-iron pans isn’t just about preventing rust or sticking; it’s a chemical transformation that creates a natural nonstick coating and enhances flavor over time. Mastering this process ensures that your cast iron lasts for generations, delivering perfectly seared, golden-brown results every time.
What “Seasoning” Really Means
When we talk about seasoning a cast-iron pan, we’re referring to the layer of polymerized oil that bonds to the metal through heat. This coating fills in microscopic pores on the surface, creating a smooth, semi-glossy finish that repels food and moisture. The result is a naturally nonstick surface that gets better with use.
Each time you cook with oil or fat, you’re reinforcing this layer. That’s why older cast iron pans often have a deep, black sheen. They’ve built up dozens of thin, durable layers of seasoning. A properly seasoned pan not only releases food easily but also resists rust and absorbs just enough oil to enhance flavor.
See The Science of Searing: How to Lock in Flavor Like a Pro to dive deeper into sealing flavors.
How to Season a Cast Iron Pan Step-by-Step
- Clean the pan thoroughly. If it’s new or rusty, scrub it with hot water, mild soap, and a stiff brush. Dry it completely. Moisture is the enemy of good seasoning.
- Apply a thin layer of oil. Use a paper towel to spread a small amount of neutral, high-smoke-point oil (such as flaxseed, grapeseed, or canola) evenly over the entire surface, both inside and out. Wipe away excess; the pan should look just barely shiny, not greasy.
- Bake it. Place the pan upside down in a preheated oven at 450°F (232°C) for one hour. Put foil on the rack below to catch any drips.
- Cool it slowly. Turn off the oven and let the pan cool completely before storing. This process bonds the oil to the iron, creating that first protective layer.
Repeat the process two or three times if you’re restoring an old pan or want an extra-strong coating.
Maintaining the Seasoning
After each use, avoid soaking your cast iron in water. Instead, wipe it clean with a paper towel or rinse quickly with hot water and scrub gently with a non-metal brush or coarse salt. Dry it thoroughly and apply a few drops of oil while it’s still warm to maintain the finish.
If food starts sticking or dull spots appear, don’t panic. It just means it’s time for a quick touch-up. Simply clean, dry, oil, and reheat the pan for 10–15 minutes to rejuvenate the surface.
Explore The Difference Between Sautéing, Pan-Frying, and Stir-Frying to use your pans accordingly.
Common Mistakes to Avoid
One of the biggest cast-iron mistakes is using too much oil when seasoning. Thick layers turn sticky instead of hardening into a smooth coating. Always start with a thin layer and build gradually. Avoid using vegetable shortening or butter; these can create uneven or gummy results.
Another error is storing your pan while it’s damp or in a humid environment. Even a trace of moisture can lead to rust. Keep your cast iron dry, lightly oiled, and stored in a well-ventilated spot.
If you love building flavor in the pan, don’t miss How to Deglaze a Pan (and Why It’s a Secret Flavor Weapon).
Cooking with Confidence
A properly seasoned cast iron pan rewards you with superior heat retention, unbeatable searing, and a flavor depth that grows with every meal. Whether you’re frying eggs, baking cornbread, or roasting vegetables, it’s a reliable, nearly indestructible kitchen companion. Treat it right, and it will outlast you, carrying your cooking legacy forward one perfect crust at a time.