When you bite into a perfectly seared steak, chicken thigh, or even a golden-brown vegetable, you’re tasting the science of searing in action—a complex chemical reaction that transforms simple ingredients into something extraordinary.
Searing isn’t just about color; it’s about unlocking the deep, layered flavors that define great cooking. Understanding how it works scientifically can help you master this essential kitchen skill.
The Chemistry Behind the Crust
Searing triggers what’s known as the Maillard reaction, which is a series of chemical interactions between amino acids and sugars that occur when food is exposed to high heat. This reaction produces hundreds of new flavor compounds, creating that irresistible browned crust and aroma. The Maillard reaction starts at around 285°F (140°C), but to get the best results, your pan must be even hotter.
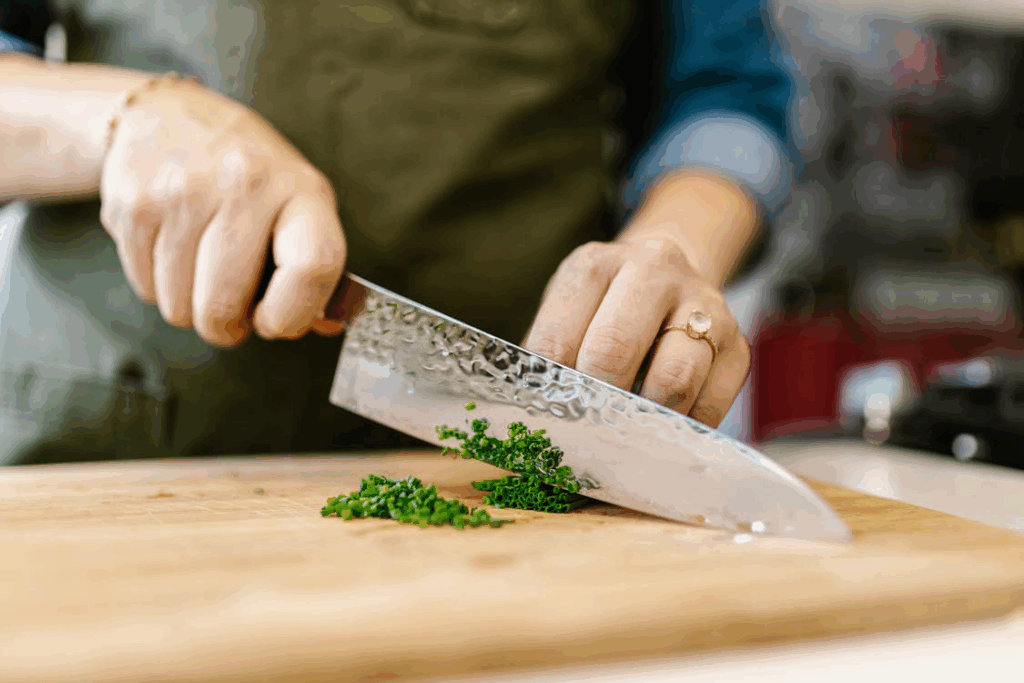
The surface of your meat or vegetables needs to be dry before hitting the pan; moisture causes steaming, not searing. When water evaporates, it keeps the surface temperature below the threshold required for browning. Always pat food dry before cooking, and avoid crowding the pan, as this traps steam.
See also The Difference Between Sautéing, Pan-Frying, and Stir-Frying to understand how searing fits other techniques.
Choosing the Right Pan and Oil
The pan you use determines how evenly the heat distributes across the surface of your food. Cast iron and stainless steel are ideal for searing because they retain and distribute heat consistently. Nonstick pans, while great for delicate items, can’t handle the high temperatures needed for proper browning.
Equally important is choosing the right oil. Oils with high smoke points, such as avocado, grapeseed, canola, or refined peanut oil, can withstand the intense heat required for searing. Butter adds flavor but burns easily, so if you use it, combine it with a high-smoke-point oil to prevent scorching.
Unsure which fats to use? Explore Cooking Oils Demystified: Which to Use for Frying, Sautéing, and Baking.
Step-by-Step Guide to Perfect Searing
- Preheat your pan properly. Allow it to cook for at least two to three minutes over medium-high heat before adding the oil. You’ll know it’s ready when a drop of water sizzles and dances across the surface.
- Add oil and swirl. The oil should shimmer but not smoke excessively.
- Place your food and don’t touch it. Let the crust develop naturally for a few minutes before flipping. Moving it too soon prevents the Maillard reaction from completing.
- Flip once. Once the bottom is deeply browned and releases easily from the pan, turn the food to sear the other side.
- Finish as needed. Thicker cuts may need to finish in the oven; vegetables often require an additional minute or two of heat.
Resist the urge to press down on meat. It forces out juices, leading to dryness. And remember, searing doesn’t “seal in” juices as commonly claimed; it builds flavor by browning the exterior.
Read Why Your Pasta Water Should Always Be Salty Like the Sea for a quick primer on building flavor.
Common Searing Mistakes (and How to Avoid Them)
One of the most significant errors is using a pan that’s not hot enough. Low heat leads to pale, limp food rather than a crisp, flavorful crust. On the other hand, overheating the pan can burn the exterior before the inside cooks properly. Balance is key.
Another mistake is crowding the pan. Every extra piece of food drops the pan’s temperature, creating steam that hinders browning. Sear in batches if needed. Finally, avoid flipping too early. Patience is the secret ingredient to that perfect golden crust.
Check out The Secret to Fluffy Pancakes Every Time for a softer, breakfast-ready take on browning.
Bringing It All Together
Once you understand the science of searing, you can apply it to nearly any dish, such as meat, fish, tofu, or even hearty vegetables like cauliflower or mushrooms. It’s not about sealing in moisture but building depth, aroma, and texture. Mastering this technique transforms everyday meals into restaurant-quality plates.